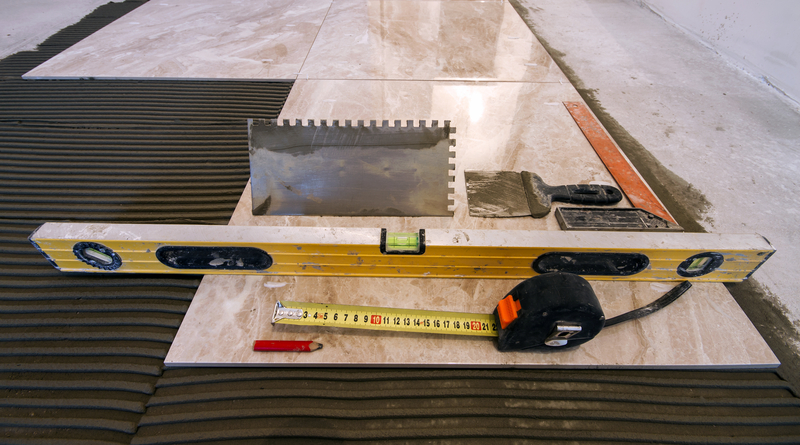
Ceramic tiles are a perfect floor covering for kitchens, hallways, and bathrooms. These floor tiles are characterised by simplicity, durability, and water-resistance. Even though most individuals are used to hiring specialised tile-setters, the installation of a ceramic tile can also be performed by the house owner with ease.
Besides, it is inexpensive to perform the task yourself. In order to be successful in laying ceramic tiles, you should focus a lot on preparation. You have to ensure that you have a workable layout, solid substrate, and all required materials and tools at hand. With these, you should be in a position to succeed in the installation process. Below is a comprehensive guide on how to lay ceramic floor tiles.
Tools Needed
The main tools required during the installation of ceramic floor tiles include the following:
- Tile nipper
- Tile cutting tool (Can be a rail tile cutter or wet tile saw).
- Rubber mallet
- Tile spacers
- Large sponges
- Buckets
- Rubber tile float
- Spirit level
- Safety glasses
- Rubber gloves
- Framing squares
- Notched tile trowel (for dispensing thin-set mortar)
- Chalk line (for snapping a line on your floor)
- Tape Measure

Required Materials
The materials needed are as follows:
- Grout
- Grout sealer
- Ceramic tile
- Grout haze remover
- Thinset mortar
How to Plan a Ceramic Tile
The tile pattern of your choice has a great impact on determining the number of tiles you’re going to purchase. Ceramic tiles with a grid pattern are simple and easy to lay. For a perfect layout, you ought to measure the area of the room, then add 15% to cater for the wasted material. You can use a tile calculator to measure the tile design accurately.
Prepare the Substrate
Most designed ceramic tiles are fragile, but they gain strength when they’re perfectly laid. Install a cement board, done by screwing the tiles to a sub-floor. Fill all the seams using the thin-set mortar and wait until they cure completely.
Dry the Layout of Ceramic tiles
Measure all the walls to identify the central position of the walls. Layout your ceramic tiles and tile spacers in a line. The key idea for this layout is to minimize cut tiles against your walls.
Spread the Mortar
Pick a relatively small batch of thin-set mortar and deposit it on the cement board. Spread the mortar until it covers an area beyond the perimeter of the ceramic tile.
Lay the Ceramic Tile
Press the ceramic tile well in the wet thin-set and twist the tile back and forth. This is key because it helps in filling the gaps. Leave at least 1/4 inch gap along with cabinets and walls.
Cut a Ceramic Tile
A rail tile cutter can be suitable if you’ve got a few tiles. Always consider placing uneven as well as snapped sides against the wall. It recommended that you purchase a wet tile saw if you require perfect cuts. For non-linear cuts, or if you’re cutting tiles around the toilet bases and pipes, you should be okay with using a tile nipper.
Grout the Tile
Always use a rubber float to press the grout into the seams gently. Work in sections and deposit any excess grout in a bucket.
Eliminate Grout Haze
This is a milky white substance that remains on the floor of the ceramic tile. The grout haze should be removed after the tile has been cured with clean water and a sponge.
Sealing Tile Grout
It’s essential to seal tile grout to enhance resistance. You can either apply sealer on each grout at a time or spray down the whole tile surface.
In Summary
Installing ceramic tiles on your floor is quite an easy DIY project when you’ve got the right tools, required materials, and information. Besides, the whole project is inexpensive and does not take a lot of time to complete once you get the hang of it. If, however, you are not confident in your DIY skills and are afraid of messing things up, or you just don’t like DIY projects, you can always hire professionals to lay out the tiles for you.
Thank you for reading this blog post. If you have any questions, do not hesitate to visit our contact page or call today on 01234 263080.
